
Lights, Camera, Low Cost: Cinematic Filmmaking Guide

The Key to Telling Great Stories Is Light
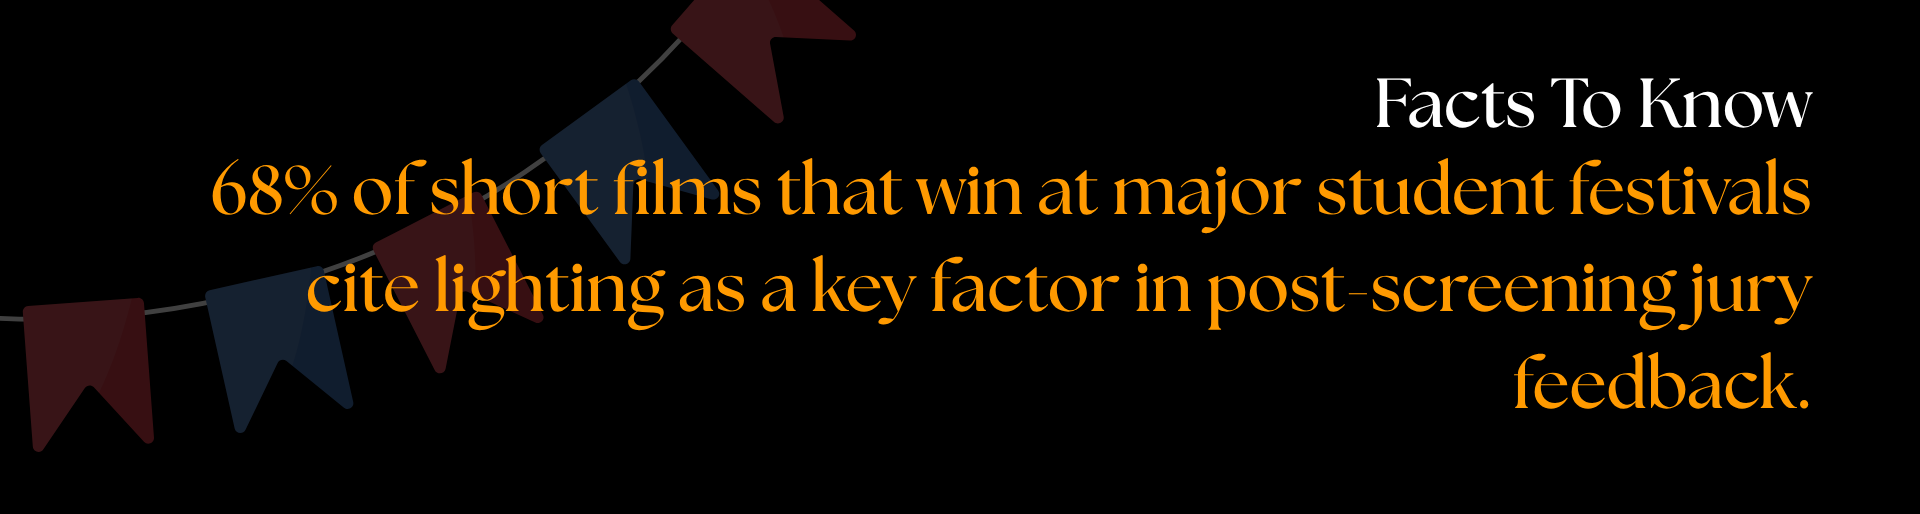
Even if your short film has the perfect storyline, talented performers, and a scenic setting, it could be a failure if the lighting isn’t correct. Learning to do lighting setups yourself may instantly improve your shots without making a hole in your wallet, regardless if you’re a YouTuber or a student filmmaker trying to get that cinematic look.
In this guide, we will be breaking down inexpensive, simple lighting setups that you can use for reels, music videos, and short films. With the help of equipment you most likely already own, we will show you how to light like a pro for both melancholy interiors and outdoor night shots.
The Significance of Lighting in a Short Film
Before we dive into the setups, here’s why lighting is very important:
- Establishes tone and mood: Do you prefer a gritty thriller or a lovely atmosphere? The emotional background is created by the lighting.
- Focuses the frame: Proper lighting directs the viewer’s gaze and highlights the subject.
- Increases the value of production: With careful lighting design, even low-budget movies appear high-end.
Let’s now examine how to create beautiful images on your own.
The Home Version of the Traditional 3-Point Lighting Setup
Ideal For: Conversation heavy situations, monologues, and interviews.
What You Require: One powerful desk lamp or LED light One reflector, such as a silver sunshade or white foam board One soft fill (tracing paper or a lamp with a white cloth diffuser)
Configuration:
- Key Light: Which should be positioned 45 degrees away from the subject. Your primary source of illumination is this.
- Fill Light: To lessen shadows on the other side, provide a softer light.
- Back Light (Optional): To set the subject apart from the background, position a table lamp or even a little light behind them.
Pro Tip: If you are shooting during the day, make use of windows’ natural light and fill in any gaps with white walls or do-it-yourself reflectors.
The Cinematic Look of the Moody Single-Light Setup
Ideal For: Dramatic scenes, suspenseful scenes, and noir-style sequences.
What You Require: A single clip light or LED A dark room with cardboard or black fabric for flagging
Configuration: Alight the subject’s face from above and to the side. Use black cardboard to block off extra light, or make a spotlight effect with a snoot, which is a rolled-up paper cone.
- For a high contrast effect, let the remainder of the frame go into shadow.
For instance, this arrangement nicely captures the atmosphere of interrogation scenes from Breaking Bad which is tense, shadowy, and visually striking.
The Golden Hour Setup: A Natural Light Hack
Ideal For: Heartfelt sequences, passionate moments, and gentle changes.
What You Require: Just a subject and a camera; a reflector is optional.
Configuration:
Take pictures during the golden hour, which is roughly an hour after dawn or before sunset. For a cozy backlighting glow, place your subject with their back to the sun. Light can be reflected back onto the face using a white reflector.
Pro Tip: You only need time and placement because golden hour illumination is naturally soft and flattering.
Low-Budget Thrillers: The Flashlight Trick
Ideal For: Dream sequences, thrillers, or horror.
What You Require: A flashlight or two Cellophane paper or colored gels Incense or a smoke machine (optional)
Configuration: Cover the flashlights with colored gel tape. Use them as useful lighting in the setting, such as a flickering hallway light or a portable torch.
- To create atmospheric light beams, add a little smoke.
Use this in a short horror film where your character slowly walks down a pitch-black hallway. With just a sliver of light hitting their face, creating suspense.
Make Your Own Bedsheet Softbox
Ideal For: Product photos, close-ups, and portraits.
What You Require: A powerful light source, such as an LED panel or bulb White shower curtains or bed linens
- Frame (a clothes rack or even PVC pipe)
Configuration: To soften harsh shadows, mount the light behind the sheet. For soft, natural light, position it slightly to the side of your camera.
Why It Works: This is the same concept as those expensive softboxes the pros use, yet this arrangement is free and produces a perfect skin glow.
Portable Night Shots: Car Light Setup
Ideal For: Urban night sceneries, music videos, and street scenes.
What You Require: Your vehicle’s headlights Colored gels Dust or fog (optional)
Configuration: For character walking, use the headlights of your car as sidelights or backlights. Apply colored gels to it to create styled images. Add dust or smoke to create dramatic textures.
Example: Without any professional equipment, you can recreate the looks of Drive or Nightcrawler.
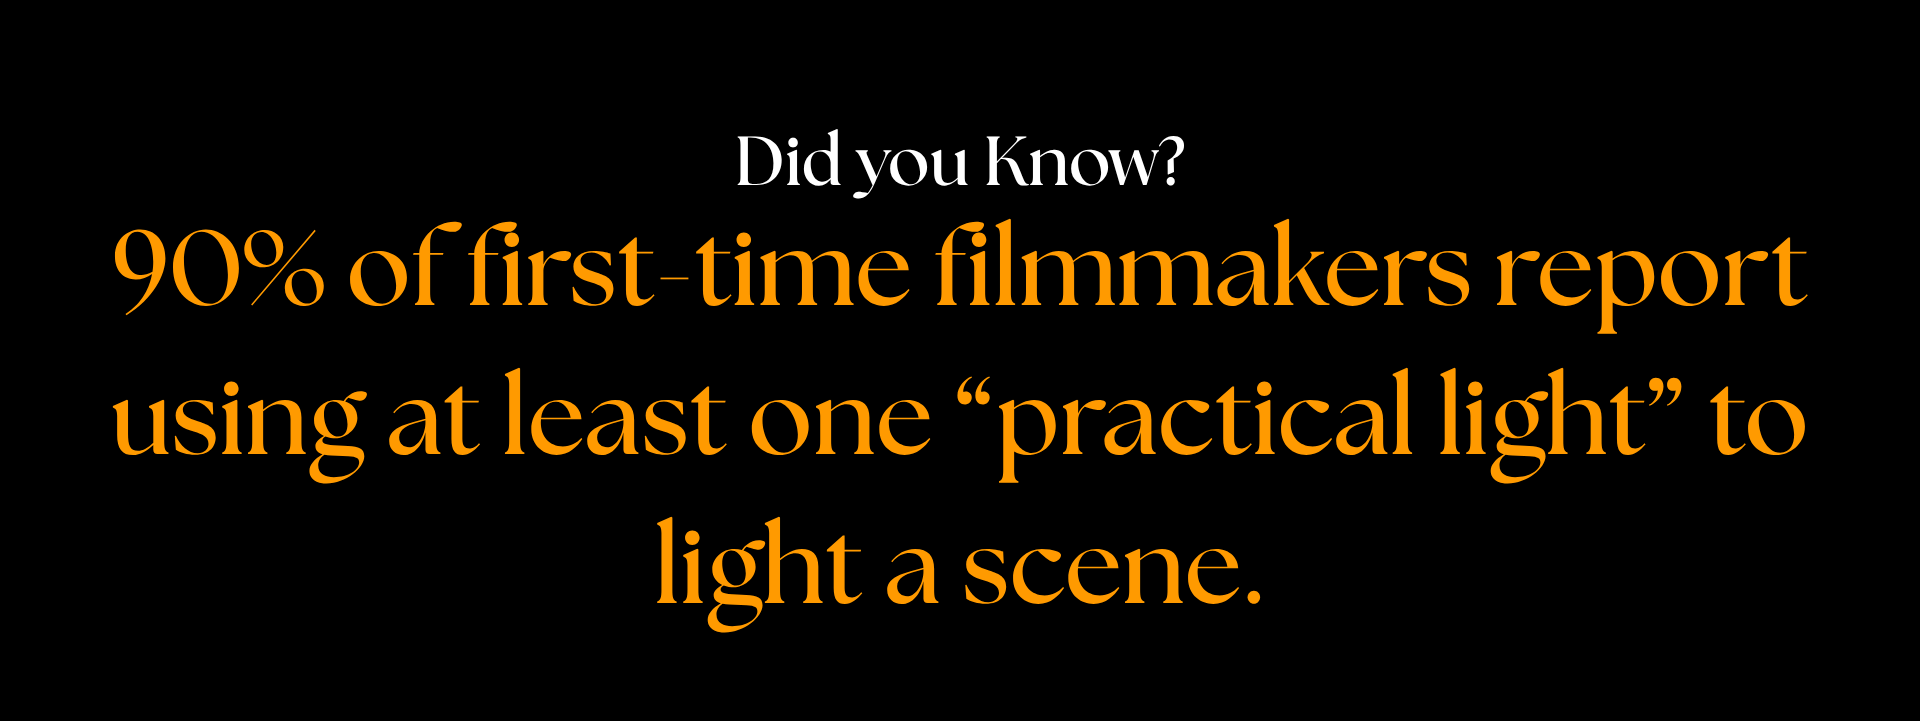
Use the Scene’s Existing Lighting to Make It Practical
Ideal For: Cozy interiors, independent drama, and realism.
What You Require: Candles, LED strips, lamps, and fairy lights
Configuration: Make use of real things in the frame to add light to your scene. While fairy lights can improve bokeh, table lamps can also be used as key lighting.
- For a dramatic effect, choose warm color temperature bulbs.
Pro Tip: To enhance balance and lessen grain, combine practicals with a gentle off-screen light.
Tips for Color Temperature and White Balance
Your lighting’s color mood is equally as important as its brightness:
You can use warm (tungsten) lighting to create a cozy and intimate atmosphere. Employ cold (blue/daylight) hues to create a sense of seclusion or anxiety. To prevent strange color casts, align the white balance of your camera with the main light source.
Bonus Gear: Cheap Tools That Make a Difference
Tips for Color Temperature and White Balance
Your lighting isn’t just about brightness it’s about color mood: • Use warm (tungsten) lights for intimacy and coziness. • Use cool (daylight/blue) tones for tension or isolation. • Match your camera white balance to the dominant light source to avoid weird color casts.
In conclusion, shoot sharp and light smart.
You don’t need a large budget to create stunning visual narratives. With the correct do it yourself lighting sets you can create whatever idea you possess. Whether that’s a dramatic sequence, romantic, or horror can be achieved. The key here is working and making the most with what you have while setting your wild imagination free.
Lighting is your invisible actor in the realm of visual storytelling; it sets a tone, a texture, and an emotion. And the best part? With a bedsheet, a flashlight, and a little creativity, you can become proficient.